
Redeemed Contracting · Bathroom Remodeling
What to Expect During a Bathroom Remodel in Northeast Ohio
What to Expect During a Bathroom Remodel in Northeast Ohio (Step-by-Step Process)
Most homeowners in Northeast Ohio start a bathroom remodel with one of two mindsets: either they've watched enough renovation content online and feel ready, or they've heard horror stories from a neighbor and are bracing for chaos. The reality is usually somewhere in between—and the difference between a smooth project and a stressful one almost always comes down to how well you understand the process before it starts.
At Redeemed Contracting, we work with homeowners across Stark County, Uniontown, Hartville, North Canton, Jackson Township, and Green. We've done everything from simple tub-to-shower conversions to full gut-and-rebuild bathroom remodels. This guide walks you through exactly what happens, step by step, so there are no surprises.
The Phone Consultation — Getting to Know Your Project
Every project with us starts with a phone call, not a sales visit. Before we ever step foot in your home, we want to have a real conversation about what you're thinking, what you're hoping to accomplish, and what your budget looks like. It usually takes 15 to 30 minutes, and it saves everyone a lot of time.
Here's what we're trying to understand in that call: What's not working about your current bathroom? Are you looking at a full gut remodel—new shower, new tile, new everything—or is the scope more targeted? Do you have a rough budget in mind, or are you still trying to figure out what things cost? All of that shapes the conversation.
We'll also give you a realistic ballpark on the phone. We're not going to give you a firm number without seeing the space—no honest contractor can—but we can tell you whether your project sounds like a $10,000 job or a $25,000 job based on what you're describing. That ballpark matters because it lets you decide early whether moving forward makes sense, before anyone has spent time driving across Stark County for a consultation that isn't the right fit.
If the phone call lines up—scope makes sense, budget is in the right range, and we seem like a good match—then we schedule the in-person consultation. If it doesn't line up, we'll tell you that honestly too. We'd rather have that conversation on the phone than waste your afternoon.
Homeowner tip
Before the call, jot down what you actually dislike about your current bathroom, your approximate square footage, and a rough budget range you're comfortable with. The more specific you can be, the more useful the ballpark we can give you.
The In-Person Consultation
If the phone call makes sense, the next step is getting eyes on the space. We'll come to your home, walk through the bathroom with you, and get a much clearer picture of what the project actually involves.
This is where the ballpark from the phone call starts turning into a real number. We can see the existing layout, check the condition of the subfloor and walls, identify any potential issues behind the surface, and understand the scope in a way you simply can't do over the phone. A bathroom that sounds straightforward sometimes has a wrinkle—an awkward drain location, a sloped floor, older plumbing that needs attention—and seeing it in person lets us account for that before we put a number on paper.
We'll also talk through the direction of the project with you. Do you already have a clear vision—tile picked out, fixtures in mind, layout decided? Or are you starting from scratch and need help thinking through the design? Some projects are ready to move straight into material selections. Others benefit from a more structured design phase first where we work through layout options, finish combinations, and a full material plan before anything gets ordered. We'll figure out which path makes sense for your project during this visit.
By the end of the in-person consultation, you'll have a much more accurate cost range, a clear understanding of the project scope, and a defined next step—whether that's moving into design or going straight to selections and a formal proposal.
Design, Layout, and Material Selections
Once the scope is agreed on, we move into design. This means finalizing the layout (are we moving plumbing, or keeping fixtures in place?), selecting tile and flooring, choosing fixtures, and deciding on finishes.
Layout decisions matter more than most homeowners realize. Moving a toilet or shifting a drain even a foot adds cost and time because it means opening up the floor and rerouting plumbing. If you can work with the existing drain locations, you'll save money. We'll always tell you whether moving things makes practical sense or whether it's just adding cost without much benefit.
For materials, we guide you toward options that hold up well in Northeast Ohio's climate and in a high-moisture environment like a bathroom. Porcelain tile is almost always our recommendation for shower walls and floors—it's durable, easy to maintain, and available in a huge range of styles. We steer clients away from materials that look good in a showroom but fail early in a real bathroom.
Common mistake
Picking all your finishes from a single showroom visit without comparing costs. Tile prices vary significantly, and a small upgrade in tile size or material can add hundreds or thousands to the total. Know your budget ceiling before you fall in love with a specific product.
Demolition and Prep Work
Demo day is usually the most satisfying—and the most revealing. We tear out the old shower, tub surround, flooring, drywall, and any fixtures that are being replaced. This is when we find out what we're actually working with.
In older homes, demo often uncovers water damage, mold behind the surround, or subfloor rot that wasn't visible before. This is one reason we always include a contingency conversation in our planning—not to pad the budget, but to have a plan if we find something that needs to be addressed before we can move forward.
Prep work includes removing debris, inspecting the subfloor, and making sure the framing is solid and level. If the floor isn't flat or the walls aren't plumb, everything installed on top of them will reflect that. We don't skip this step.
Homeowner tip
If the bathroom being remodeled is your only bathroom, talk to your contractor early about scheduling. Plan for access to a neighbor's shower or a gym membership for the duration. Pack a bathroom kit—toiletries in a bag you can move easily—and clear out the vanity and linen closet before demo begins.
Plumbing, Electrical, and Framing Adjustments
This is the rough-in phase—work that happens inside the walls and floors before anything is visible. If plumbing is being relocated, it gets done here. If you're adding a recessed niche in the shower, that framing goes in now. If you're upgrading to a GFCI-protected outlet circuit or adding a new exhaust fan, the electrical rough-in happens at this stage.
We work with licensed plumbers and electricians when that work is required. In Ohio, certain plumbing and electrical work requires a licensed contractor and may require permits. We handle the permit process—you shouldn't have to navigate that yourself.
This phase takes longer than most homeowners expect, and it's also one of the most important. Rough-in work that's done wrong creates problems you won't discover until water is flowing or a light switch stops working two years later.
Waterproofing — Why This Step Makes or Breaks a Bathroom Remodel
Waterproofing is where a lot of contractors cut corners, and it's where a lot of bathroom remodels fail years later. Tile doesn't stop water. Grout doesn't stop water. The waterproofing membrane behind the tile is what keeps moisture from reaching your framing, subfloor, and drywall.
The Schluter System
We use the Schluter-KERDI waterproofing system on our shower installations. It's a bonded waterproofing membrane that goes directly over cement board or other substrate before tile is installed. When it's done correctly, the shower assembly is fully waterproof at the membrane—not just water-resistant.
This matters especially in Northeast Ohio where homes go through significant seasonal temperature changes. Materials expand and contract, grout lines develop micro-cracks over time, and without a proper membrane, water finds its way in. The Schluter system also includes profiles and transitions that handle movement at joints and changes in material—details that most people never see but make a real difference in longevity.
We also use Schluter-DITRA for tile floor installations. It's an uncoupling membrane that goes between the subfloor and the tile to prevent cracking caused by the natural movement of a wood-framed floor. If you've ever seen tile floors crack or grout crumble in a bathroom, there's a good chance uncoupling membrane wasn't used.
Common mistake
Accepting a bid that doesn't specify waterproofing system and method. If a contractor just says "cement board and tile," ask specifically about the waterproofing membrane. The answer will tell you a lot about their level of experience.
Tile, Flooring, and Installation
Once waterproofing is done and inspected, tile work begins. This is the phase that takes the most time and has the highest visible impact. Tile installation quality is immediately obvious—poorly set tile, inconsistent grout joints, and out-of-level work are hard to miss once it's finished.
We lay out the tile pattern before we start setting anything. Where does the pattern start? How does it work at the corners? Where do cuts land? These decisions get made on paper before thinset touches the wall. Rushing this step causes problems you can't fix without tearing everything out.
For tile shower installation, we work methodically from bottom to top on the walls, using appropriate thinset for the tile size and material. Large format tiles require different techniques than smaller mosaic or subway tile. We use the right tools and materials for each job—not a one-size-fits-all approach.
After tile is set and cured, grout goes in. Grout color selection matters more than people realize—it affects the overall look significantly. We use sanded grout for wider joints, unsanded for tight joints, and we apply grout sealer to protect the finished surface.
Final Fixtures and Finishing Touches
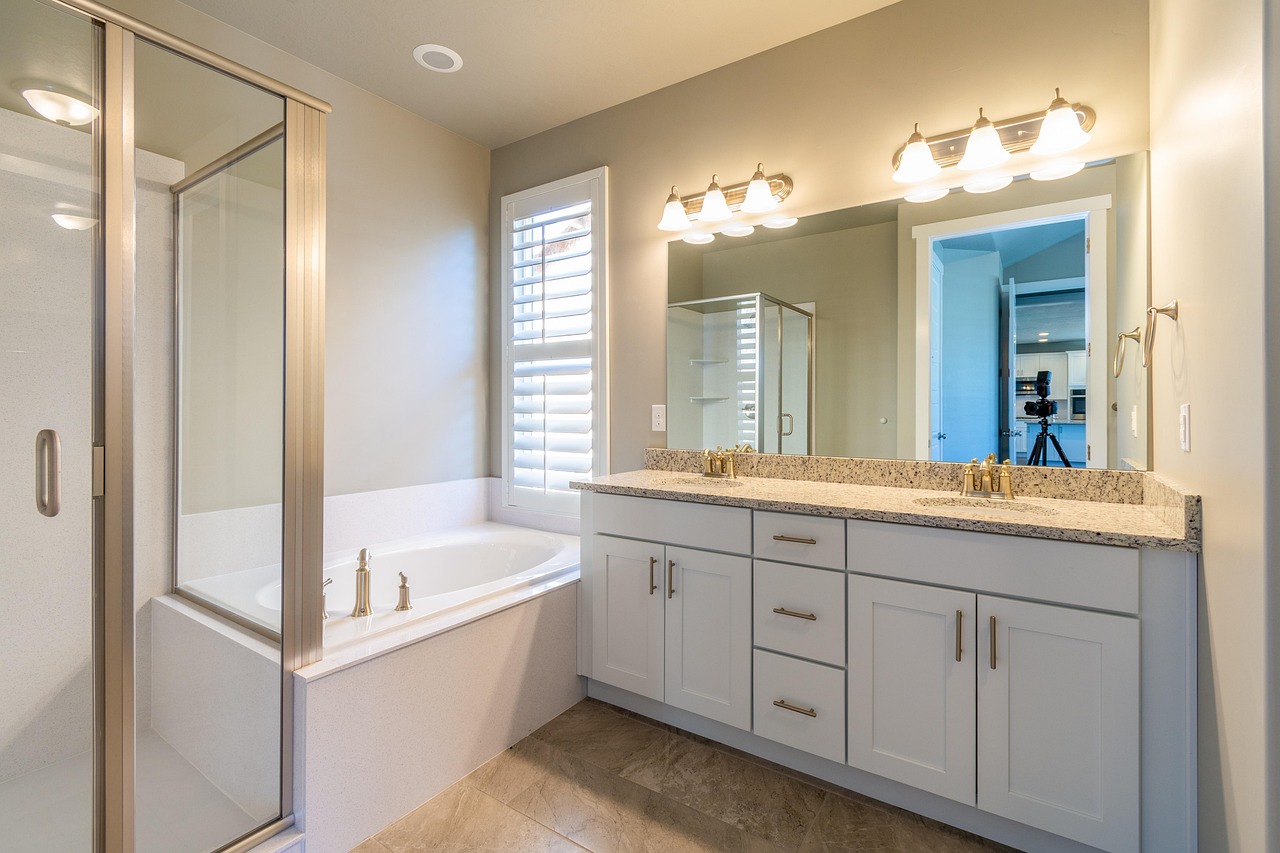
This is the phase that makes the bathroom start looking like a bathroom again. Vanity installation, toilet setting, shower valve and trim, mirrors, lighting, exhaust fan, towel bars, and all the small finish details come together here.
Fixture selection affects both function and longevity. We recommend mid-to-upper grade fixtures from brands like Moen, Delta, and Kohler over budget-tier alternatives. The difference in cost is usually modest; the difference in lifespan is significant. A quality shower valve installed correctly will outlast the tile around it. A cheap one often won't.
This is also when caulking happens—at all the transitions between tile and fixtures, between the shower floor and walls, and around the tub if one is present. Caulk is one of the first things that fails in a bathroom, and the quality of the application matters. We don't rush it.
Homeowner tip
Before your contractor finishes, ask about caulk maintenance. Most caulk at tile transitions should be inspected annually and reapplied as needed. It's an easy DIY task that extends the life of the whole installation.
Final Walkthrough and Completion
Before we call a job done, we do a final walkthrough with you—not a quick once-over, but a real review of the space. We test everything: water runs through all fixtures, drains are clear, exhaust fan works, doors open and close correctly, and every finish detail has been addressed.
If something isn't right, we fix it before we wrap up—not after. Our goal is for you to walk into that finished bathroom and not have a single thing on a punch list. That's the standard we hold ourselves to.
We'll also walk you through care and maintenance for your specific installation. How to clean the tile and grout without damaging the finish, when to check caulk, what to watch for over time. A well-built bathroom remodel should last 15 to 25 years with normal care—we want yours to get there.
Realistic Timeline: How Long Does a Bathroom Remodel Take?
Here's an honest answer: a typical full bathroom remodel in Northeast Ohio, from demo to final walkthrough, takes 2 to 4 weeks. Some jobs finish faster; complex projects with plumbing relocations or tile work on multiple surfaces can take longer.
What affects timeline:
- Material availability — lead times on special-order tile or custom vanities can add 2 to 4 weeks before work even begins
- Scope of plumbing or electrical work — rough-in phases take time and sometimes require inspections before the next phase starts
- Unforeseen conditions — water damage, subfloor issues, or old plumbing that needs replacement add time
- Size and complexity of tile work — a full tile shower with a niche and a patterned floor takes longer than a simple 3-wall surround
We give realistic timelines at the start of every project. If something changes the schedule, we tell you why and when to expect completion. You'll never be left wondering what's happening with your project.